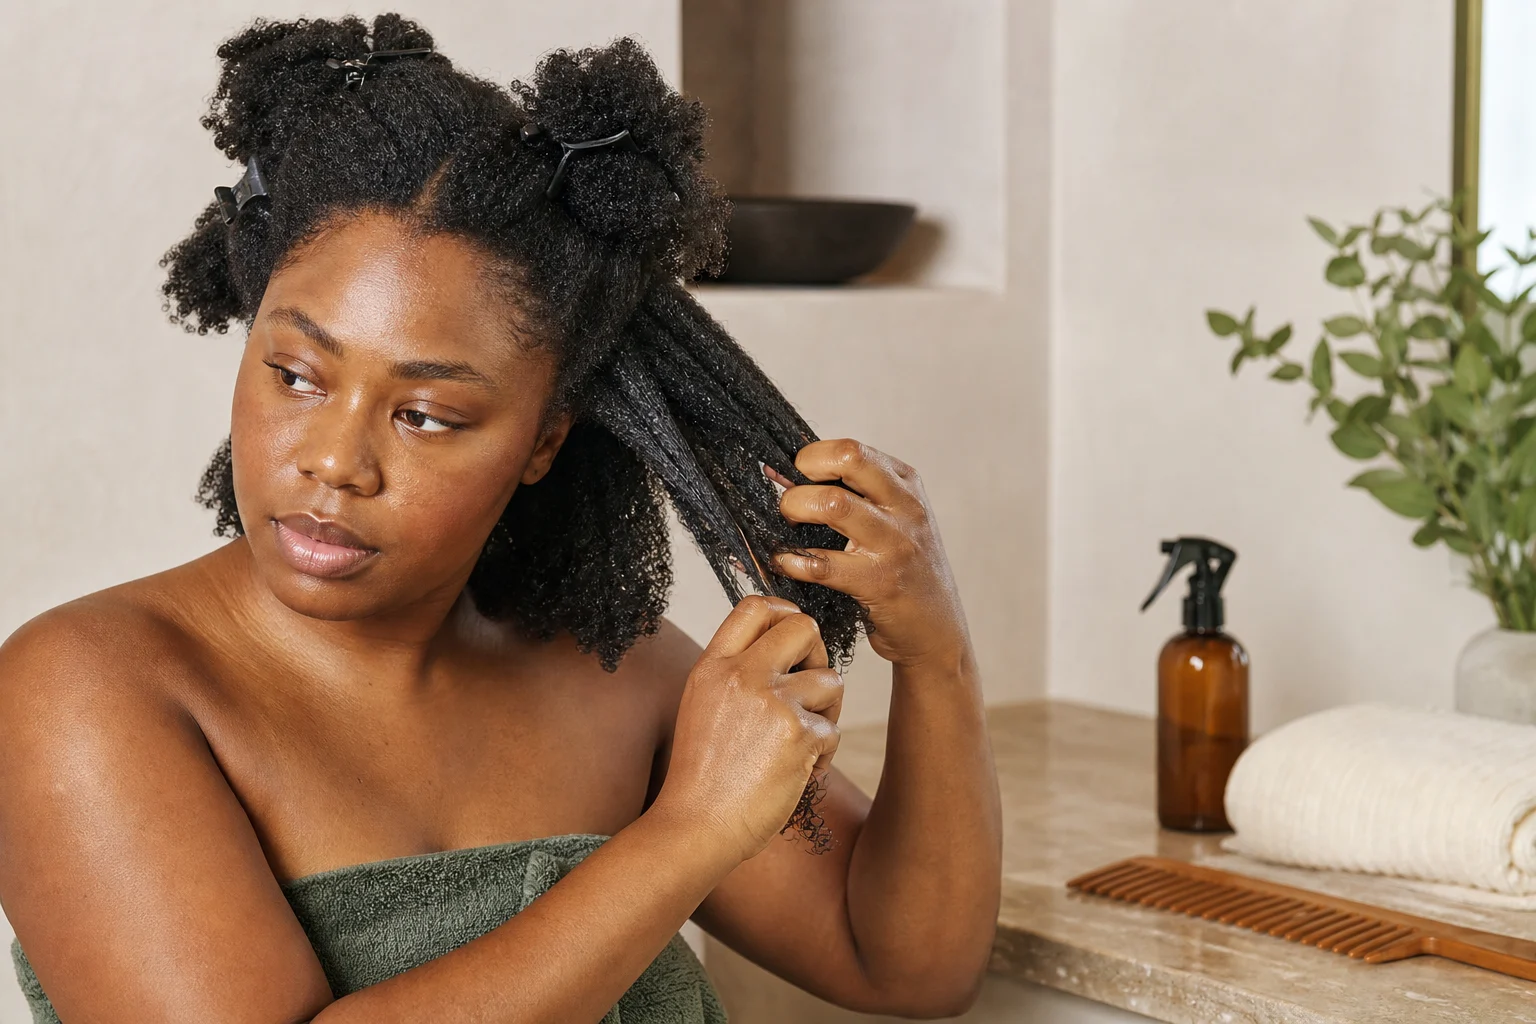
Detangling 4C Hair Without Losing Half of It
The order of operations for detangling coily hair, single-strand knots, and how to tell shedding …
Read →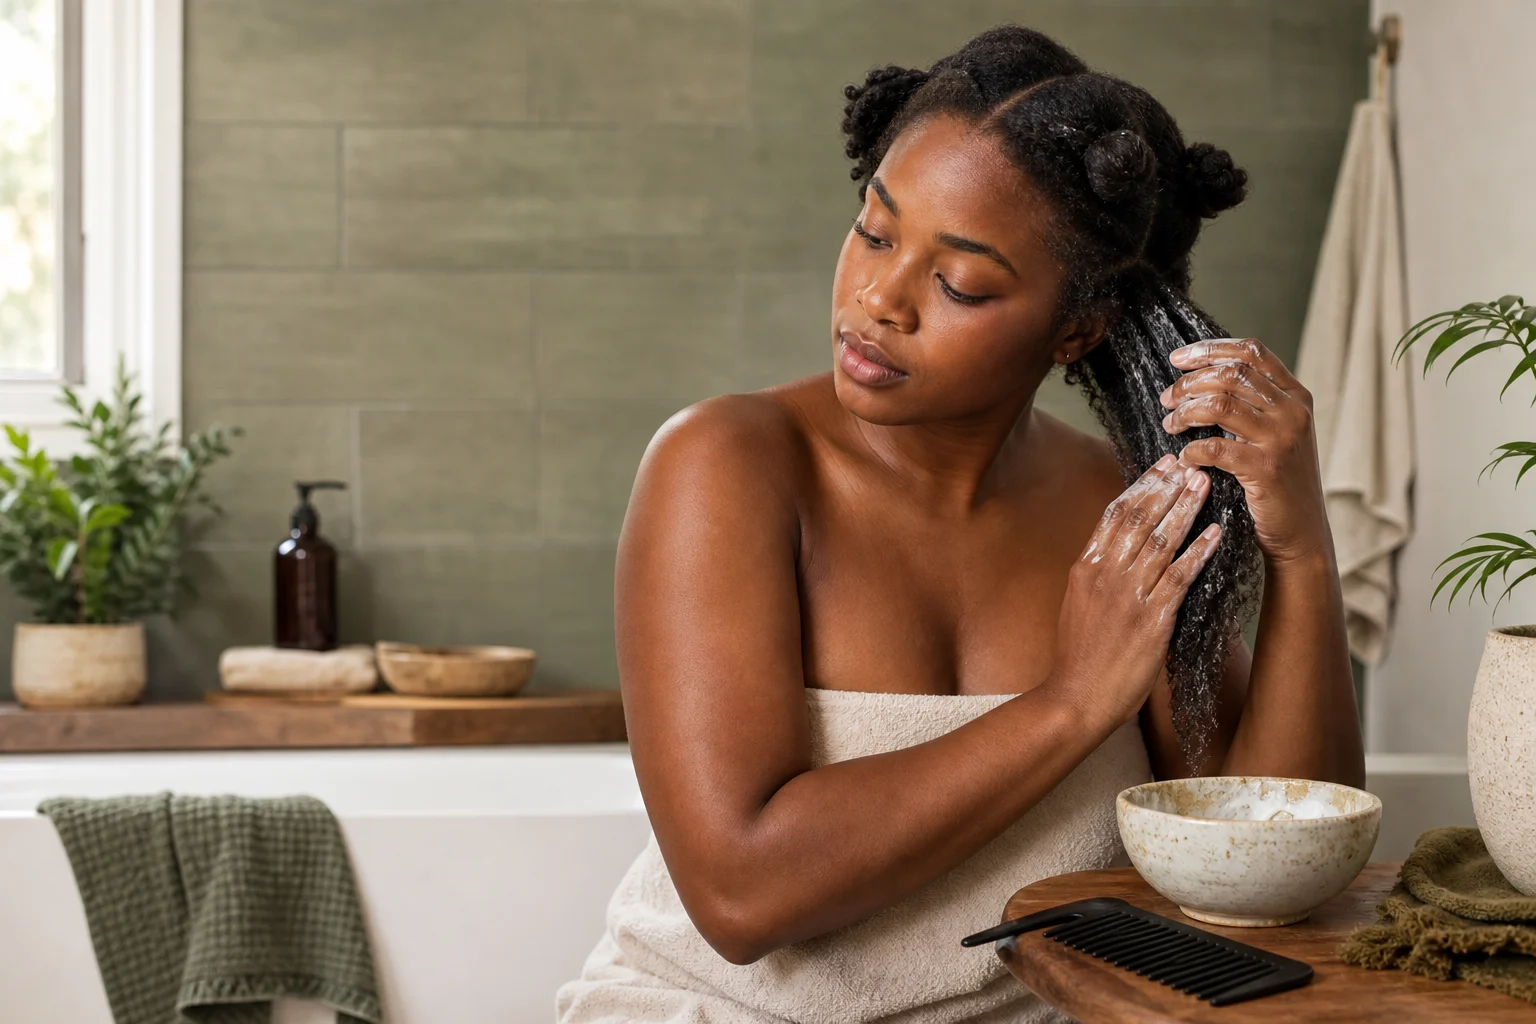
Wash day for 4C hair is an event. Depending on length, density, mobility, and styling choices, wash day may take from under an hour to several hours. A repeatable system can make it easier without turning speed into the goal. The key is working in sections, being gentle, and understanding that 4C hair needs moisture at every single step — not just at the end.
Here’s the routine, step by step.
Before water even touches your hair, coat it in oil or a conditioner. This protects the strand from hygral fatigue — the swelling and contracting that happens when dry hair suddenly gets soaked.
How to do it: Section your hair into 4-8 twists. Apply coconut oil, olive oil, or a cheap conditioner (Suave Naturals works fine) from root to tip. Let it sit 15-20 minutes, or overnight under a bonnet if your hair is very dry.
Why it matters for 4C: Your tight coil pattern means each strand has more friction points. A pre-poo reduces tangles before you add water, which is when most breakage happens.
Focus on your scalp, not your strands. The shampoo will run down and clean your hair as you rinse — you don’t need to scrub lengths.
How to do it: Use a sulfate-free shampoo. Apply to your scalp in sections, massage with your fingertips (not nails), and let the lather run down. If you’ve had heavy product buildup, clarify once a month with a stronger shampoo.
Choosing a shampoo: look for a sulfate-free formula — sodium lauryl sulfate near the top of the label is the one that strips coily hair hardest. You can check any bottle against our ingredient checker.
Conditioning is often the point where people gain the slip needed for lower-friction detangling. A rinse-out or deep conditioner may work here; follow the product directions and pay attention to how your own hair responds.
How to do it: Apply deep conditioner generously to each section. Clip sections up with butterfly clips. Put on a heat cap or sit under a hooded dryer for 20-30 minutes. If you don’t have either, a plastic cap under a warm towel works — just leave it longer (45 minutes).
Need help choosing? See our full best deep conditioner for 4C hair roundup.
The difference heat makes: Gentle warmth can make some conditioners easier to spread and may improve the conditioning experience, but it is optional. Follow label directions and avoid uncomfortable temperatures.
Detangle with your deep conditioner still in, or with a rinse-out conditioner and water. Never detangle dry 4C hair.
How to do it:
Shed hair vs. breakage: Long strands with a white bulb at the end = normal shedding. Short snapped pieces without a bulb = breakage. Adjust your technique if you’re seeing the latter.
Rinse out your deep conditioner with cool-to-lukewarm water. Use a comfortable rinse temperature; very cold water is not required for an effective rinse.
How to do it: While your hair is soaking wet (not damp — wet), apply a leave-in conditioner. Section by section. Squeeze it through each section, don’t just pat it on top.
The LOC or LCO method — Liquid, Oil, Cream (or Liquid, Cream, Oil) — seals moisture into the strand. The leave-in is your liquid. Now add the oil or cream.
How to do it: Apply a light oil (jojoba, grapeseed, or sweet almond) or a butter (shea, mango) to each section. If your hair is fine, use oil. If it’s thick and dense, butter holds up better.
LOC vs. LCO: Try both and see which keeps your hair moisturized longer. LOC tends to work better for high porosity, LCO for low porosity. There’s no universal answer.
Choose your style based on what you need this week: twist-out, braid-out, wash-and-go, or a protective style.
How to do it: Style on wet hair for definition. Use a gel or curl cream to set. Air dry if you have time, diffuse on low heat if you don’t. Avoid touching your hair while it dries — that’s how frizz happens.
Drying tip: If you’re doing a twist-out, let it dry 90-100% before taking the twists down. Taking them down early = frizz, not curls.
| Step | Time | Key Product |
|---|---|---|
| Pre-poo | 15-20 min | Oil or cheap conditioner |
| Shampoo | 10 min | Sulfate-free shampoo |
| Deep condition | 20-30 min | Deep conditioner + heat |
| Detangle | 15-20 min | Wide-tooth comb + conditioner |
| Leave-in | 5 min | Leave-in conditioner |
| Seal | 5 min | Oil or butter |
| Style | varies | Gel or curl cream |
Total time: 90 minutes to 2.5 hours depending on length, density, and style choice.
Want more product picks? Browse our curated shop for every step of your routine.
Frequency: Every 7-14 days. The useful schedule is the one that keeps your scalp clean and your routine sustainable. Activity, scalp condition, styling products, and protective styles can all change the cadence.
See the American Academy of Dermatology’s Black hair care guidance for dermatologist-reviewed baseline practices.
The order of operations for detangling coily hair, single-strand knots, and how to tell shedding …
Read →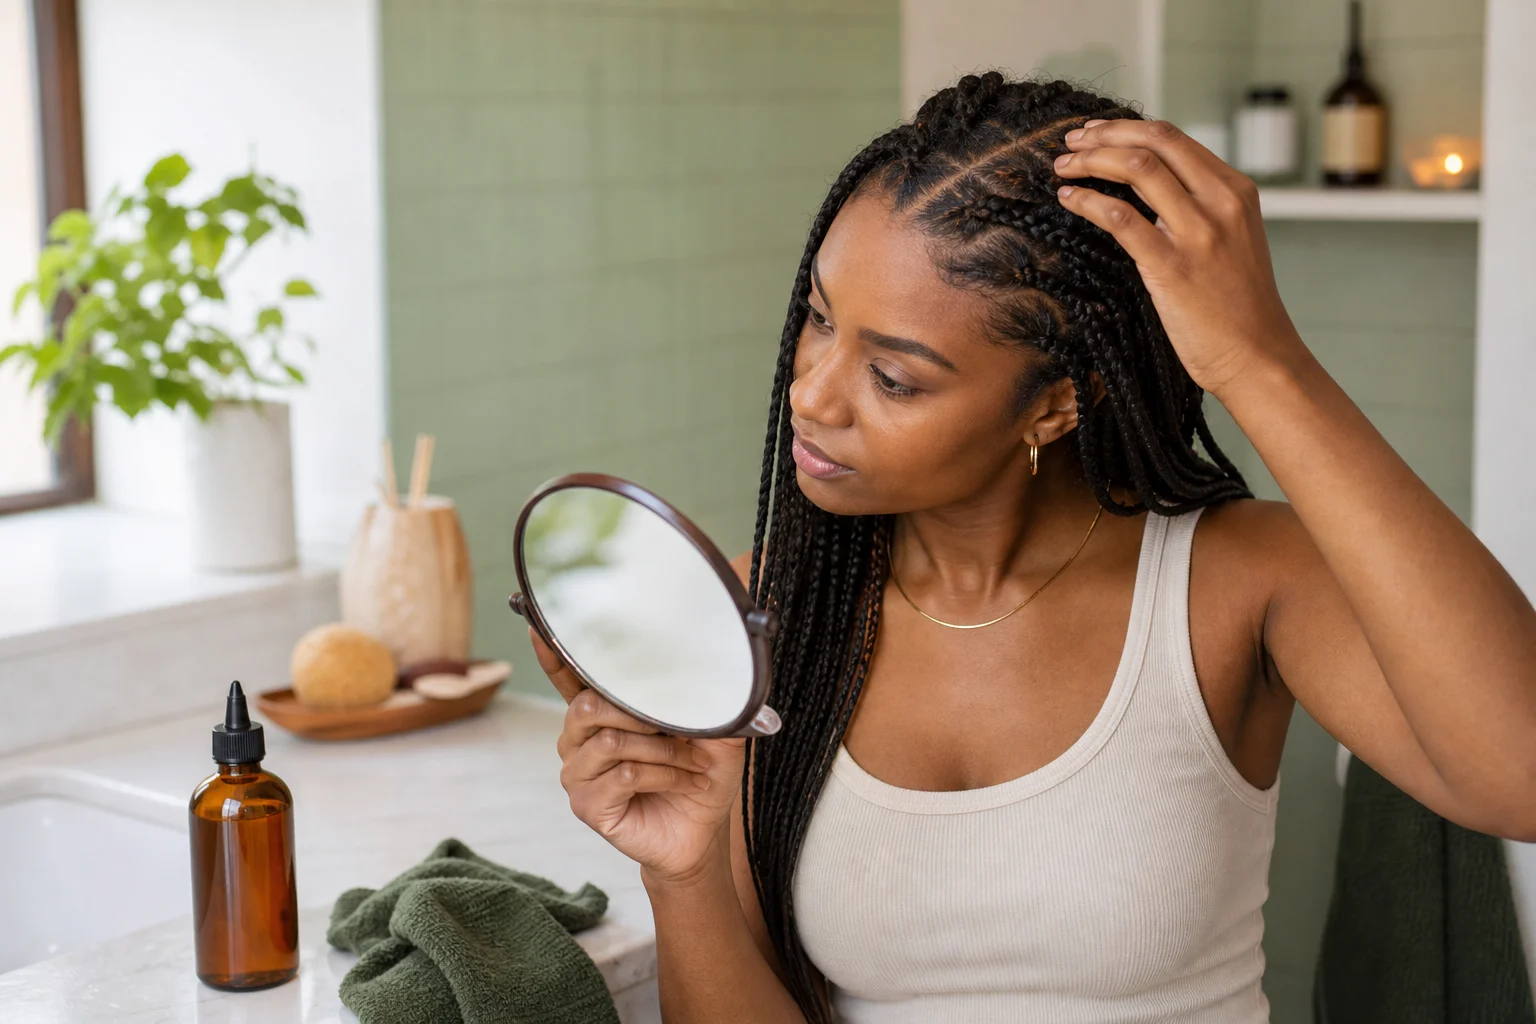
Why your scalp itches in braids, how to tell dandruff from dryness and buildup, and when itching is …
Read →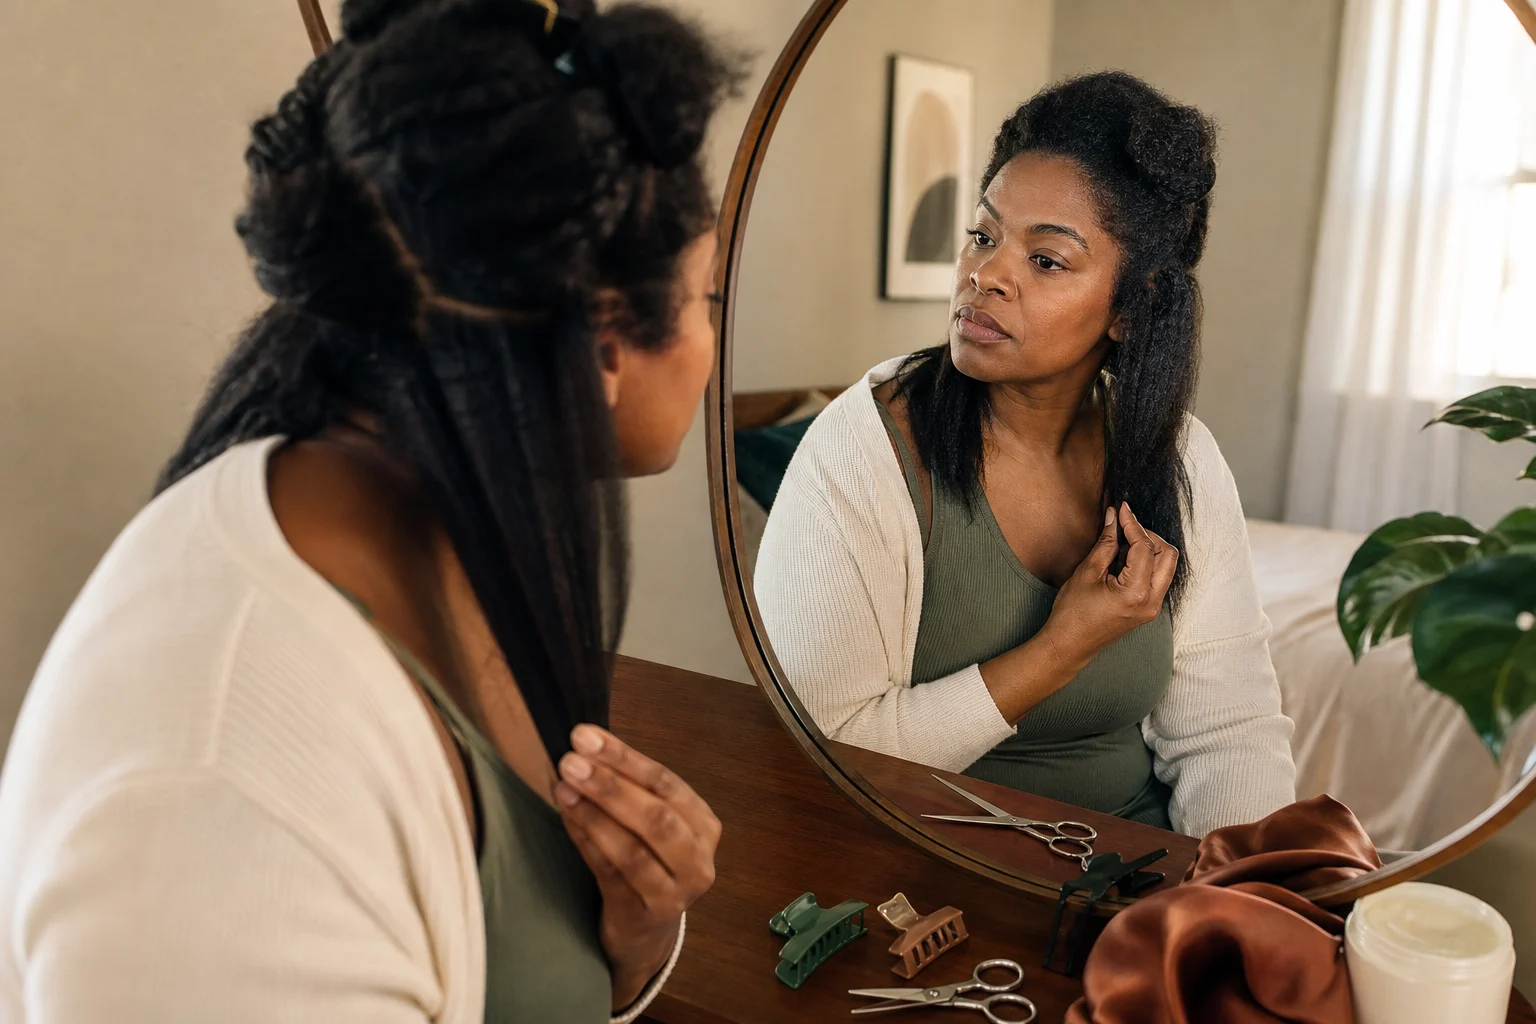
Big chop or long transition, how to handle two textures at once, and what the research actually says …
Read →The wash day routine, the ingredients to skip, and where to spend versus save. Unsubscribe in one click.